Check out the YouTube video to take you through the process step-by-step.
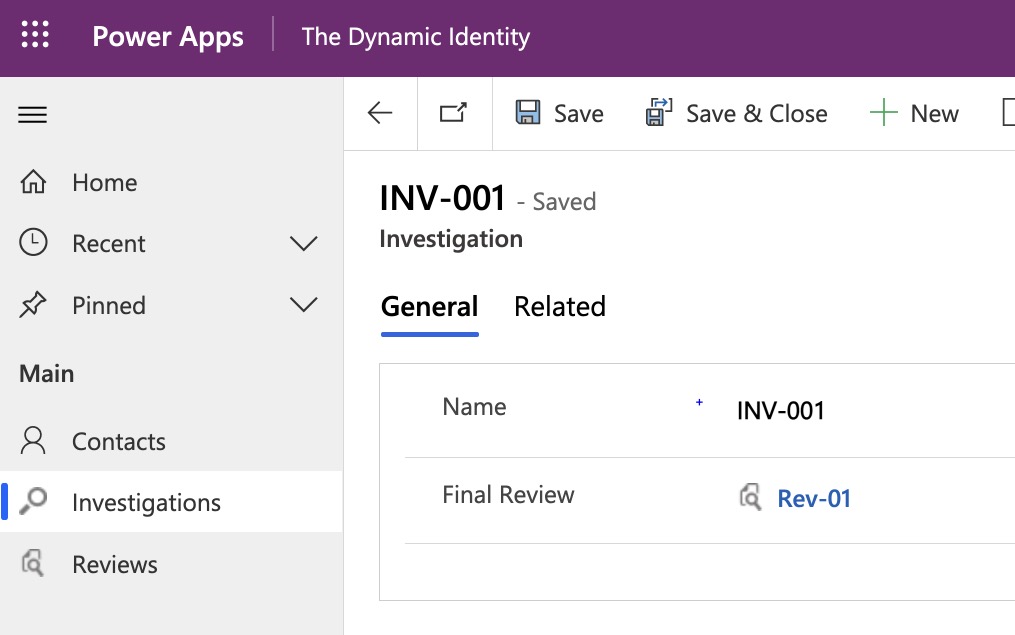
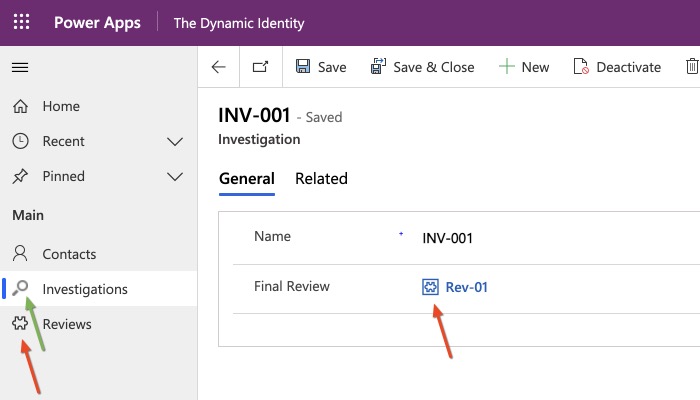
There are a couple places where the icon of a table shows in the system, these are:
- the navigation of a model driven app,
- a lookup to that entity
So, let’s first talk about the technical requirements for an icon:
- dimensions: 16×16 pixel
- format: svg
- less than 10kb
- no padding
- preferably no background
N.B. other format are permitted, but svg offers the best squality
A few great and free websites are:
- https://icons8.com/icon/set/icon/small
- They also offer an app, dont waste your time, it offers a very limited set of icons and removes much of the cool features available on their website.
- https://flaticons.net/free-icons
However, personally, I prefer “Metro Studio” by Syncfusion https://www.syncfusion.com/downloads/metrostudio
You will have to sign up download and install the software first. However once that is done, it will significantly improve the speed at which you can find and download items in the future, as it remembers your settings and let you save items into projects from data retrieval.
Set the colour to black (#FF000000) or dark grey, at least: #FF757474

One advantage of icons8 is that you can customise icons, but adding extra elements to them – just make sure to filter by “Simple small”, as this only shows icons that are available in 16×16 pixels.

Head over to the make.powerapps.com UI. First, we will need to add the icon as a new webresouce to CRM – go to your web resouce solution, click on new > more > web resource and then upload the png like this – consider a naming pattern to stick to, such as entityname_icon_dimension:

In order to add it to a custom table, navigate to the relevant table, select properties and then add the image there:
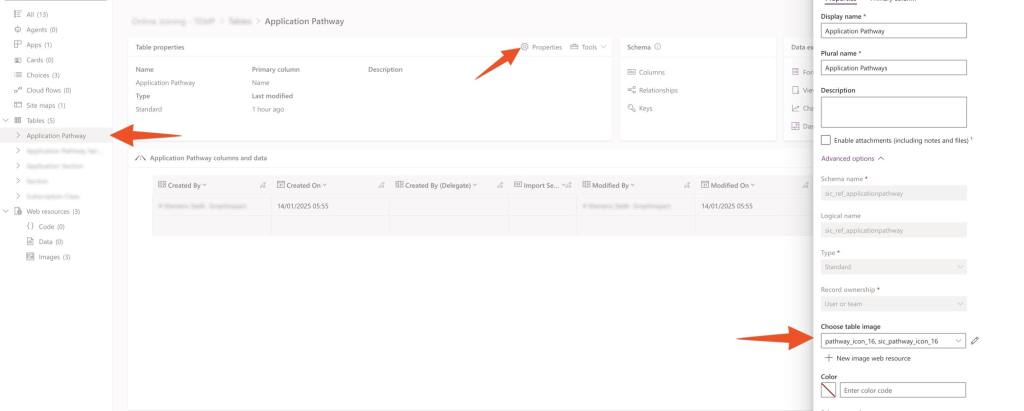
That’s it, click on save and reload your MDA – voila!